Miss Homemade has delicious easy pumpkin recipes from scratch. Learn how to make your own homemade pumpkin puree.
My homemade pumpkin desserts begin with a fresh pumpkin pie made completely from scratch, best pumpkin cookies recipe, moist pumpkin bread recipe and many more below.
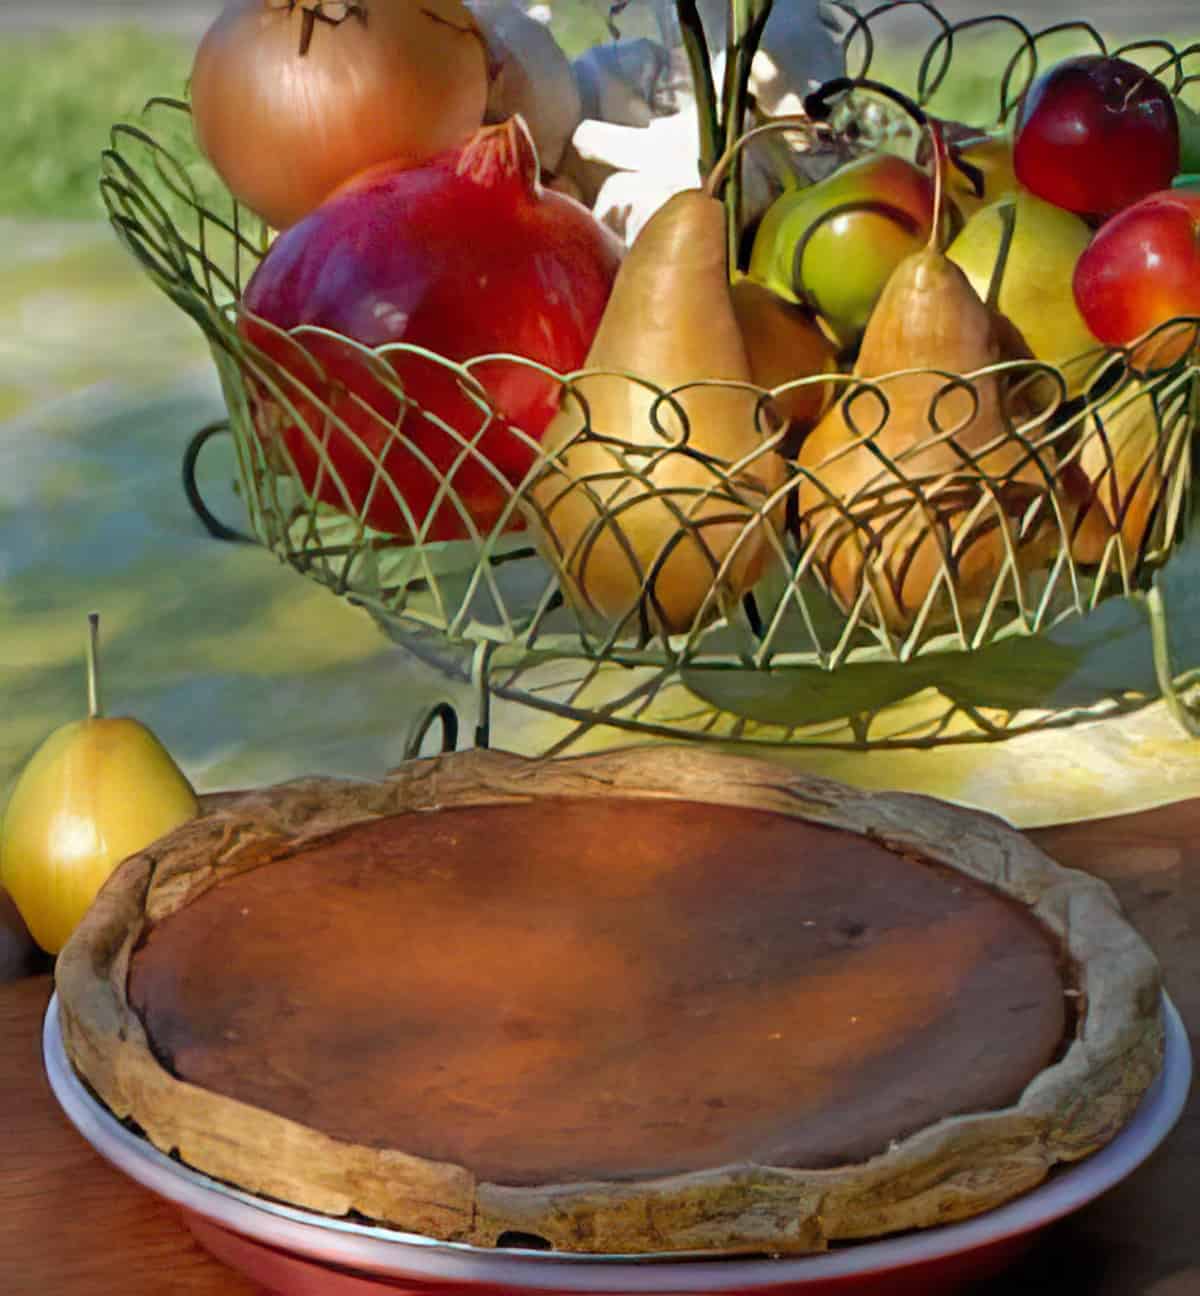
FRESH PUMPKIN PIE FROM SCRATCH
your favorite pie crust or my homemade pie crust
1-1/2 cups freshly prepared pumpkin, see below
1-1/2 cups evaporated milk
1 cup homemade light brown sugar, packed
1/2 tsp salt
1 TBS cinnamon
1 TBS homemade pure vanilla extract
1/2 tsp ginger
1/2 tsp nutmeg
3 eggs
PREHEAT oven to 425 degrees.
Fresh Pumpkin Puree
Use small to medium size pumpkins. Clean and slice meat from the rind. Cut pumpkin into squares and bake in a covered (or larger) dish. Bake for 25 to 30 minutes or until pumpkin is very tender. Remove and put immediately into a blender and make puree.
Meanwhile, make your pie crust and place in the pie plate. Mix 1-1/2 cups fresh pumpkin with remaining ingredients and pulse in blender to get smooth and creamy. Pour into the prepared pie shell. Bake 15 minutes at 425 degrees, then reduce heat to 350 degrees. Bake another 45 minutes or until an inserted knife comes out clean.
NOTE
If you do not have access to fresh pumpkins, I have the next best thing. This is an easy tip and makes a big difference in taste. In a medium pan over low heat, heat up the canned pumpkin puree, spices, and salt. Heating the pumpkin puree up takes out the “canned” taste of the pumpkin and melds the spices together nicely.
Then, pour the mixture out into another bowl, and let it cool a bit before adding the condensed milk and eggs. This little change makes the pumpkin taste much fresher. My family loves this recipe, and I also use a homemade graham cracker crust; so easy and so good. A wonderful easy pumpkin recipe that beats the others hands down.

If you are looking for an easy pumpkin recipe, you’ve found it. If you want homemade fresh pumpkin puree (instead of canned), please see the fresh pumpkin pie recipe above and make your own.
HOMEMADE PUMPKIN BREAD RECIPE
This is a great pumpkin recipe and will be requested often…Can also be baked in muffin tins.
one (15oz) can pumpkin puree (recipe above)
4 eggs
1/2 cup vegetable oil
1/2 cup homemade applesauce
1 tsp homemade pure vanilla extract
2/3 cup water
2 cups homemade brown sugar, packed
3-1/2 cups flour
2 tsp baking soda
1-1/2 tsp salt
1 tsp cinnamon
1/4 tsp pumpkin spice
1 tsp nutmeg
1/4 tsp ginger
1 cup walnuts, chopped (optional)
1/2 cup raisins (optional)
GLAZE:
1/2 cup homemade unsalted butter, melted
3 TBS homemade brown sugar, packed
1/2 tsp cinnamon
PREHEAT oven to 350 degrees. Grease and flour a tube pan.
In a large bowl, mix pumpkin, eggs, oil, applesauce, vanilla, water and sugars until well blended.
Sift the dry ingredients together and add to the pumpkin mixture, stirring until just combined. Fold in the walnuts and raisins; pour into the prepared pan.
Bake for 70-90 minutes or when a knife inserted in the middle is clean. To make the glaze, melt 1/2 cup butter and add brown sugar and cinnamon; stir to dissolve.
Poke holes in the cake and drizzle with this hot mixture. This easy pumpkin recipe is worth it’s weight in gold.
If you don’t want to glaze the top, then you need to slather each slice with my Cinnamon Cream Cheese Frosting (recipe below).

HOMEMADE PUMPKIN COOKIES FROM SCRATCH
2-1/2 cup flour
1 tsp baking powder
1 tsp baking soda
2 tsp cinnamon
1/2 tsp nutmeg
1/4 tsp ginger
1/2 tsp salt
1/2 cup homemade unsalted butter, melted
3/4 cup white sugar
3/4 cup homemade brown sugar, packed
1 can pumpkin puree (or make your own – see fresh pumpkin pie recipe above)
1 egg
1 tsp homemade pure vanilla extract
CINNAMON CREAM CHEESE FROSTING:
8 oz cream cheese, softened
2-1/2 cups homemade powdered sugar, sifted
1 TBS homemade unsalted butter, melted
1 tsp homemade pure vanilla extract
1/2 tsp cinnamon
PREHEAT oven to 350 degrees.
Sift the first 7 ingredients together and set aside. Cream the butter and sugars together. Add the pumpkin, egg and vanilla; beat until creamy. Mix in the dry ingredients. Drop on a cookie sheet in tablespoons; flatten slightly.
Bake for 15-20 minutes. Cool and drizzle on the frosting.
FROSTING: Beat ingredients together in a bowl until creamy.